
Rust Repair
Thanks to Mark Howland aka Subeman of the Ultimate Subaru Message board for this! Excellent job of writing up this procedure.
Procedure:
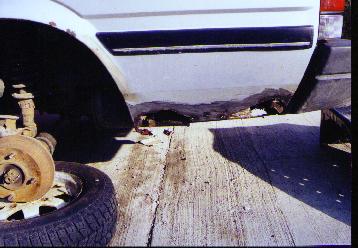
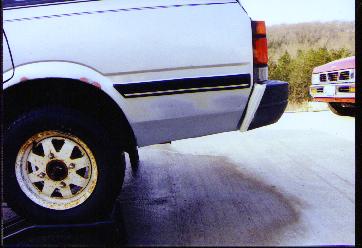
First step is to be brave! Locate all of the rust. Remove any mud flaps, trim etc. Using tin snips, remove all the affected area. Then use a grinding disc and a wire brush to get the rest of the rust off, and to feather the bare metal into the good paint.
Use a small hammer to slightly concave the repair area. Be sure to remove all
of the rust or it will come back quickly.
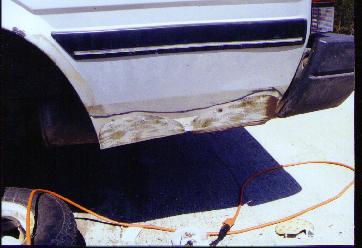
Next step is to make some patches out of some scrap sheet metal. I used sheet metal left over from a portable building I put up. It takes some time to cut and bend the pieces to fit well. I used a sanding disc to thin down the edges where the patch fits up near the good paint. Use pop rivets or sheet metal screws to attach them to the car. Next is to use that grinding/sanding disc to grind off the rivet/screw heads and edges of the patch so everything is as smooth as you can make it.
Now comes filler time! I used regular Bondo, but I know there are other products out there. Follow the instructions on the can and smear it all over the repair, filling the areas around the edges of the patch, and rivet heads. You will have to let it dry and apply again until you get it all filled. When it is dry, use rough sandpaper to shape it, working up to finer grades of paper until it is all smooth.
The next step is to use glazing putty to fill any tiny spots left, and any sandpaper scuffs.
This is where patience pays off. Keep applying it, letting it dry, and sanding it down until you
have a very, very smooth surface. Last step here is a good wet sanding with 400 or 600 grit paper. Your fingers work better than your eyes to tell when it is all smooth.
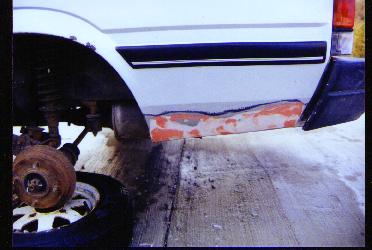
After all is smooth, it is time to prime. Use a good quality automotive spray primer that is close in color to your car. Prime it and let it dry, this coat of primer will bring out any rough spots that remain. If you find any, hit them with glazing putty again. Keep priming and wet sanding until the surface is perfect. The top coat of paint will not hide any blemishes. Let it all dry and get ready to paint.
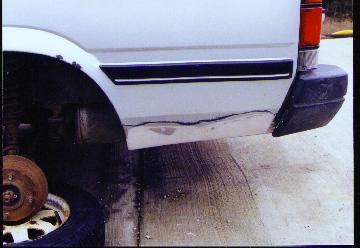
Now it is time to paint. Wait for a low humidity day, with little breeze if you are working outside. I got my paint from O'Reily
Auto parts. It was custom mixed to match my car perfectly, and then they put it in a spray can. Cost about 15 bucks a can, and I need 1 1/2 to do both sides of my car.
Use a tack cloth to remove any dust from the surface, and then paint using light coats. A little wet sanding between coats really helps it get smooth. I used about 4 or 5 coats of paint. If you screw up and it runs, just wait till it dries and then sand off the drip and try again. When all is done, you will be proud of your efforts.
On the inside of the car, I opened the trunk and got access to the area behind the repair. (near the rear window washer resovoir) I used a spray can of rubberized undercoating to coat this area well.
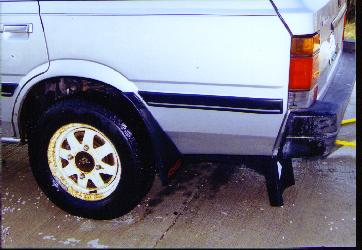
A year has gone by since the repair, and it still looks great, with no rust.
Wait a couple of months before you wax the area.
Looks great Mark! Nice job :-) -ShawnW